The Perfect Pie Crust
Recipe yields one 9-inch pie crust
This is the one and only pie crust recipe I use. It’s been passed down through generations. This recipe I adapted from my great great grandfather's famous flaky pie crust to make it work with my gluten-free pie crust mix. The key to a flaky pie crust is the shortening. I use good old shortening just like my mom, my grandma and my great great grandfather did. With its high melting point, shortening helps to create flakiness. When the pockets of shortening melt in the oven as the pie bakes, the steam helps to separate the crust into multiple flaky layers.
Butter is also another great choice. If you love butter, butter adds an incredible amount of flavor. I find a buttery crust is best when combined with equal parts of shortening. This will produce a more flavorful and flaky crust.
Dairy-Free? No worries! Earth balance soy-free buttery spread is my choice. Dairy-free butters have a lower melting point so the spread must be extremely cold when cutting it into the pastry flour. Freezing the crust before adding the filling also helps it to bake into a nice, tender, flaky crust.
If you are looking for a gluten-free pie crust recipe that stands the test of time, look no further.
Ingredients
- 1½ cup The Perfect Pie Crust Mix
- ¾ tsp salt
- ½ cup + 2 Tbsp shortening / butter / fat substitute
- 4-6 Tbsp ice water
- ¼ cup tapioca starch for rolling dough
Directions
- Combine 1½ cup pie crust mix and salt together in a large bowl. Add the butter and/or shortening.
- Using a pastry blender (the one I own) or two forks, cut the shortening and/or butter into the mixture until it resembles coarse meal (pea-sized bits with a few larger bits of fat is OK). A pastry cutter makes this step very quick and easy.
- Measure ¼ cup of very cold water and drizzle 1-2 Tbsp and stir with a rubber spatula or fork.
- Use your fork to gather the dough into a ball. If it’s too dry, add 1 tbsp water as needed. (During the winter months you may need a tbsp or 2 more.)
- Using your hand, gather the clumps together. Pack the dough together, just like a snowball, until it forms a ball.
- Lay 2 pieces of plastic wrap about 15-inches in length side-by-side on the counter overlapping the edges about 2" and press them together to prepare a surface for the dough; the plastic wrap makes it easy to transfer the crust into the pie plate.
- Place dough on prepared surface. Dust the top with tapioca starch and roll into a large circle, about 12-inches in diameter.
- Transfer the crust by lifting the plastic wrap: with palm facing up, slide one hand under the plastic wrap, and carefully lift crust to transfer into a 9x2-inch pie plate.
- Center crust in the plate, and gently press it in. Then remove the plastic wrap from the dough.
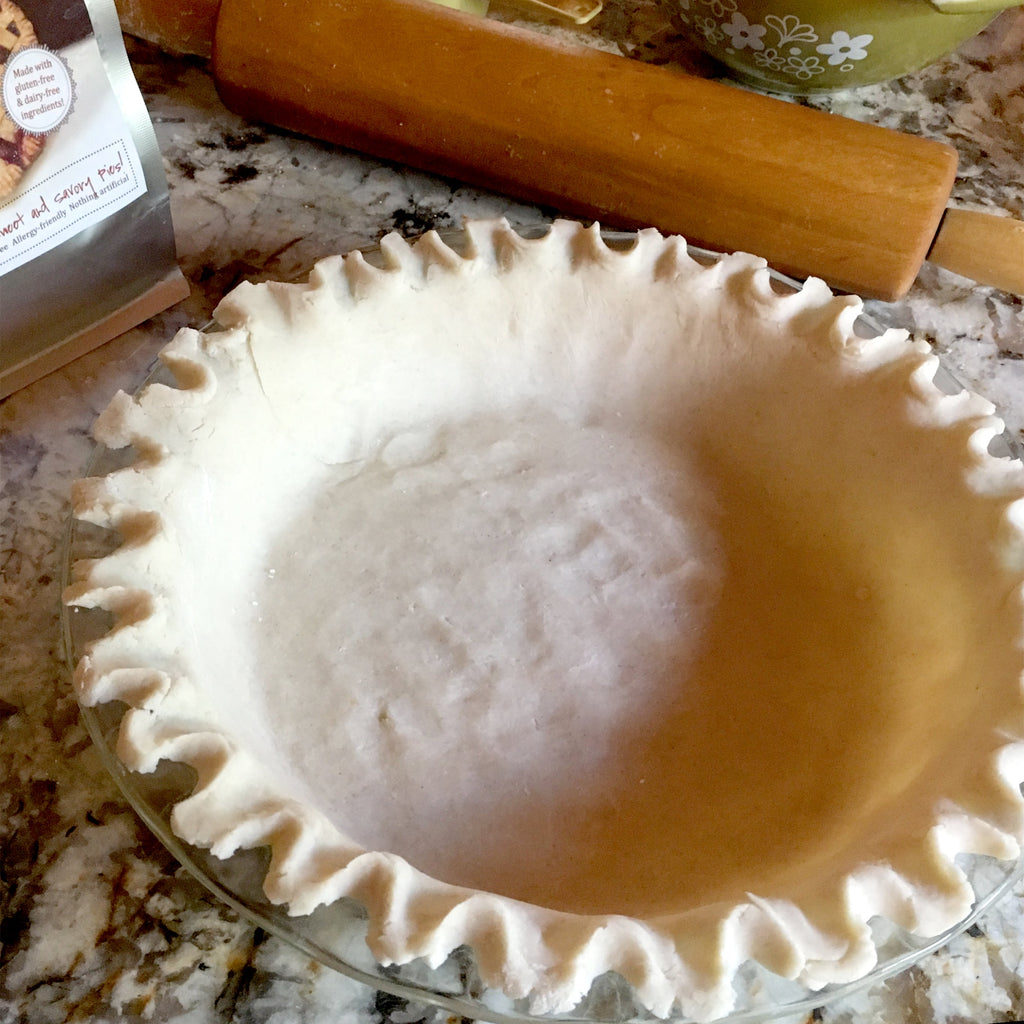
- Trim excess dough with a small knife. Flute to make a decorative edge.
- Refrigerate until filling is ready.
*** If the fat melts inside the dough before baking, you will lose the flakiness and it will lend to a hard, crunchy, greasy crust. Refrigeration is a great way to prevent it from melting.